Add team members and assign roles
Invite your team from Settings, choose a role for each person, and manage who is active.
Everyone on your account has a role, and the role sets what they can see and change by default. You invite, edit, and deactivate people from one tab in Settings. You need the Manage team members permission, which Team Leaders, Admins, Transaction Coordinators, and Lead Buyer's Agents have by default.
Open Team Members
- Open Settings from the bottom of the sidebar.
- Select the Team Members tab.
The table lists everyone on your team by NAME, ROLE, EMAIL, PHONE, TEAM, and STATUS (Active or Inactive); the Team Leader sees everyone on the account. If you have the manage permission, an ACTIONS column appears on the right.
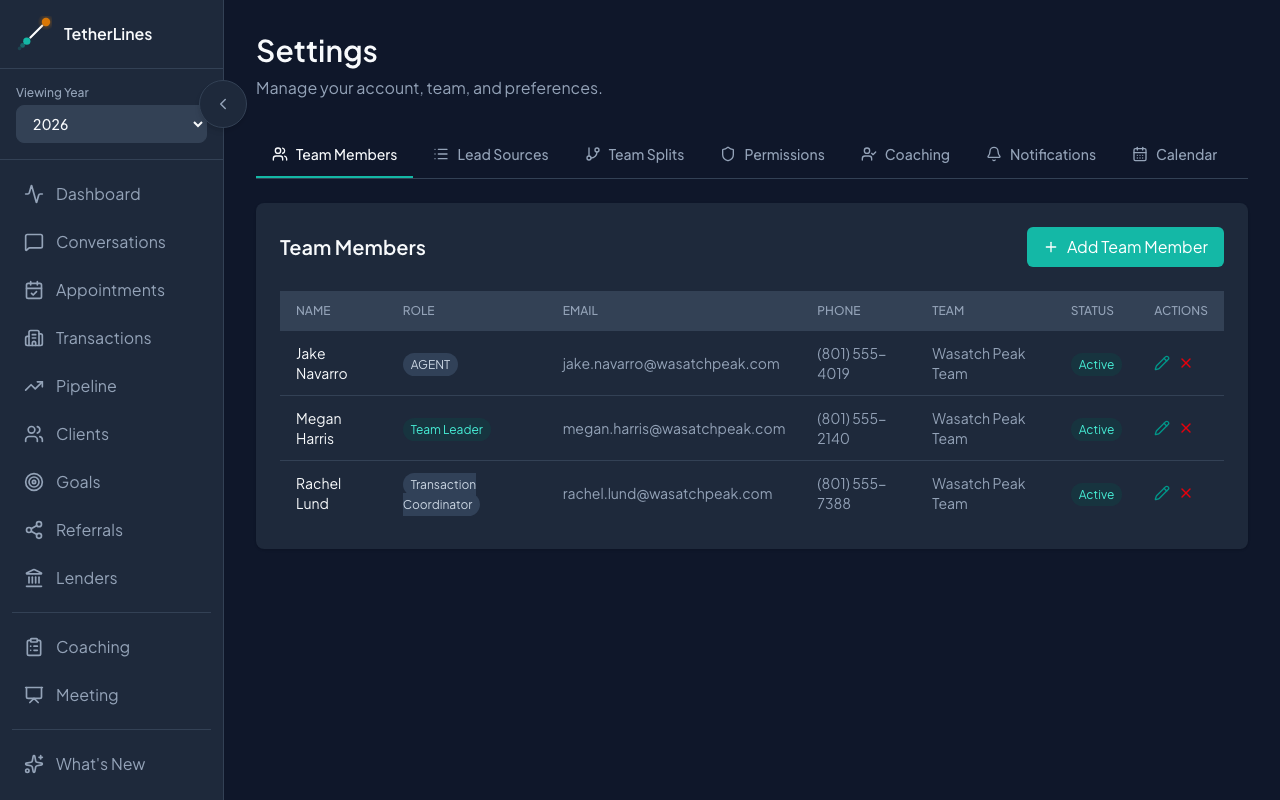 Settings, Team Members tab: everyone on the account with their role, team, and status
Invite a member
- Select Add Team Member.
- Under Invite New Team Member, enter their Email.
- Choose a Role. The reference below describes each one.
- Select Send Invite.
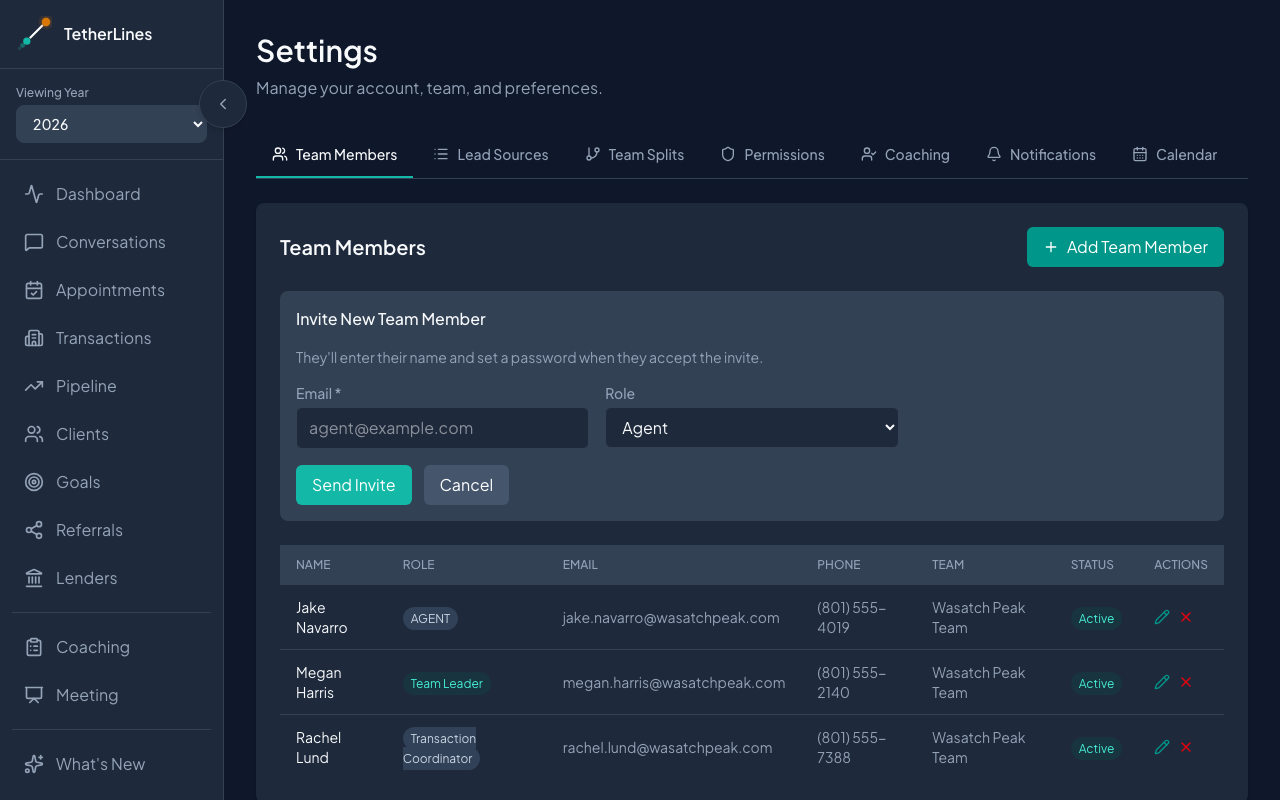 Invite New Team Member: an email address and a role, then Send Invite
A toast reads Team member added. Invite sent to followed by the address. The new person appears in the table as (Invited) on your team until they finish setup.
They receive an email with a secure link that opens a Complete your account page, where they enter their name, create a password, and finish a short setup. Their side is covered in Accept your invite and set up your account.
Resend an invite
Until someone accepts, their row shows a Resend Invite icon under ACTIONS. Select it to send the email again; a toast confirms the address it went to. The icon disappears as soon as they open the invite link, even if they have not set a password yet.
Edit a member
- Select the pencil icon (Edit) on their row.
- Under Edit Team Member, update First Name, Last Name, Email, Phone, or Role.
- Select Update Team Member.
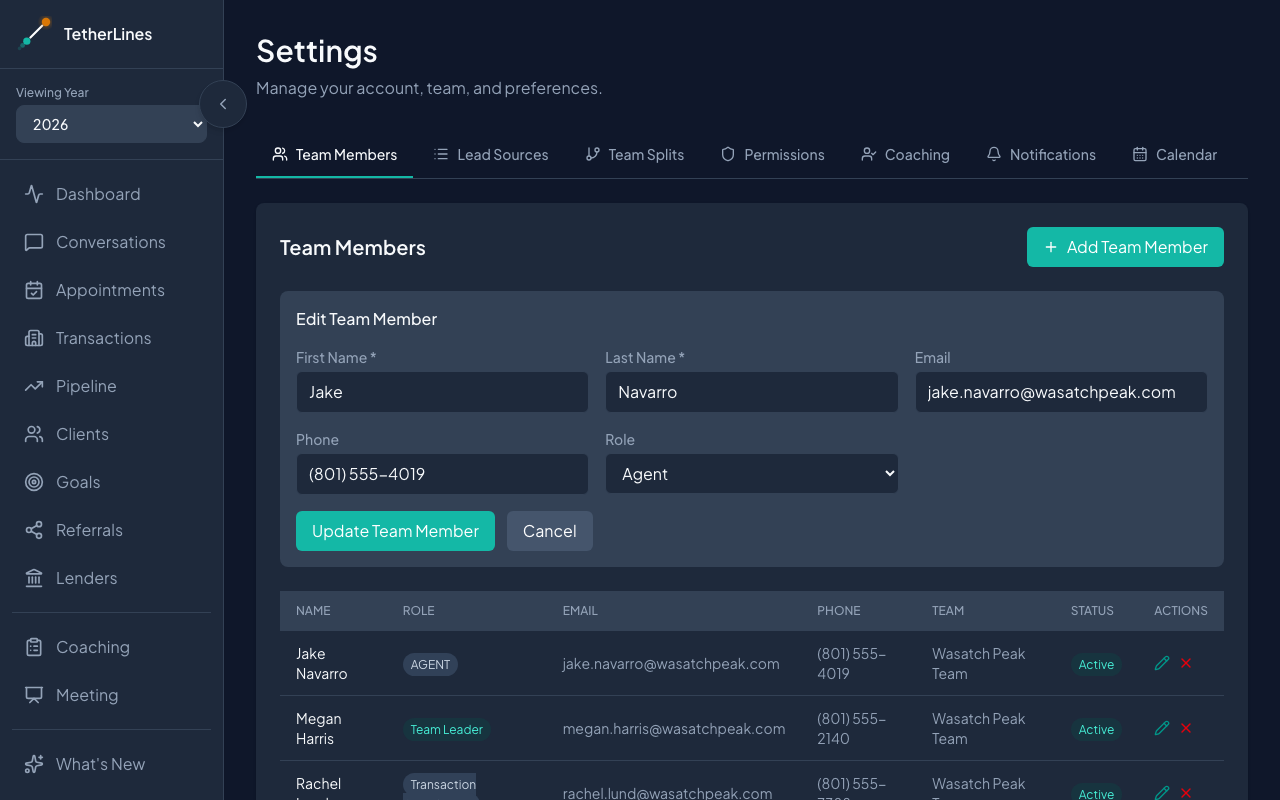 Edit Team Member: update a name, phone, email, or role
Changing a role changes what that person can see and do from then on; nothing they have logged is affected.
Deactivate and reactivate
When someone leaves, select the X icon (Deactivate) on their row. The row dims and its status reads Inactive. Their data stays: conversations, appointments, transactions, and commission history keep their name, so past reports still add up.
To bring someone back, select the check icon (Activate). Their status returns to Active.
Roles reference
Every role starts with View team data, so by default each person sees the whole team's numbers, not only their own. Full commission detail is limited to the two roles noted below. The Team Leader can change these defaults for every other role on the Permissions tab; the Team Leader's own permissions are fixed.
| Role | What it is for | Sees by default | |---|---|---| | Team Leader | The account owner | Team data and full commission detail, plus every setting | | Admin | Someone who runs the account day to day | Team data and full commission detail; manages members, commission profiles, and lead sources | | Lead Buyer's Agent | A senior agent who oversees buyer's agents | Team data; manages members | | Transaction Coordinator | The person moving files to close | Team data; manages members and commission profiles | | Agent | Producing agents on the team | Team data, without other agents' commission detail | | ISA | Inside sales, setting appointments | Team data, without other agents' commission detail |
Who can assign which roles
- A Team Leader can assign Admin, Lead Buyer's Agent, Transaction Coordinator, Agent, and ISA.
- An Admin, Transaction Coordinator, or Lead Buyer's Agent can assign Lead Buyer's Agent, Transaction Coordinator, Agent, and ISA, but not Admin.
- Team Leader appears in the Role list, but it is the account owner's role, set when the account was created. It cannot be assigned from this tab.
Where to go next
- Set what each role can do if the defaults above do not fit your team.
- Configure team splits and commission profiles so each member's commission is right from their first deal.
- Set up your team: your first week for the full sequence.